Snowflake Cookies
- Home Page
- Cake Recipes
- Snowflake Cookies
THIS POST MAY CONTAIN AFFILIATE LINKS, WHICH MEANS I’LL RECEIVE A COMMISSION IF YOU PURCHASE THROUGH MY LINKS, AT NO EXTRA COST TO YOU. PLEASE READ PRIVACY POLICY AND DISCLOSURE FOR MORE INFORMATION.
Today’s post is inspired by what’s abundantly outside my window today – snow and more snow. A record breaking snowfall just hit Quebec recently - 45+ cm of blowing, fluffy snow. I made these snowflake cookies as gifts over the holidays and I thought that today is the perfect day to post it.
It just snowed and snowed and it was the ideal day to stay home and lounge in pj’s the whole day. Thank goodness, hubby was not working today and the poor guy had to clear out the snow in our driveway few times throughout the day. Oouufff, but better him than me :P
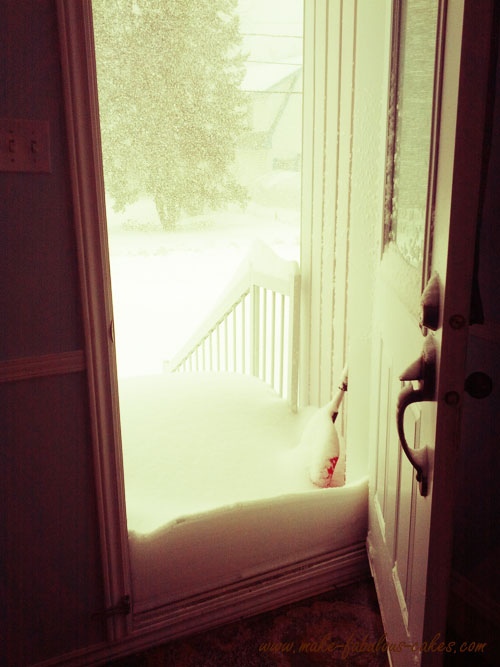 Opening the front door |
 Endless shovelling |
This recipe is one of my finds in Pinterest. I resisted for a long while to open up an account in Pinterest, I did not understand what all the brouhaha was about. Now, that I have an account, I do get it and now I could not live without it. All the inspirations, the mouth-watering recipes that I just got to try. But I digress.
I was intrigued by the author’s claim that these cookies tasted like brownies. I mean, how awesome is that – a cookie and brownie all in one?
Folks, she’s not lying. These cookies did taste like fudgy brownies, delish!
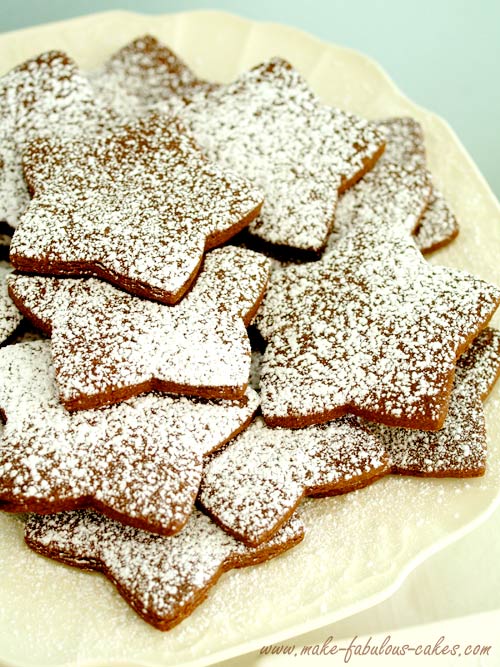
These are basically rolled chocolate sugar cookies. It does not spread that much after baking so, you can roll them up and cut into any shape or form. I made some in stars and I made some in snowflakes.
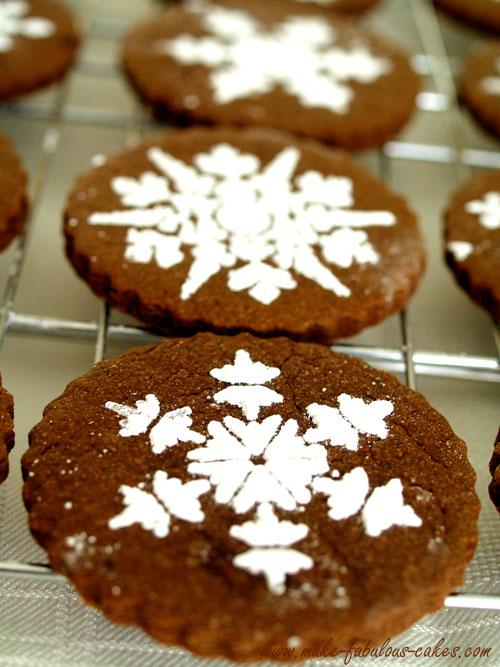
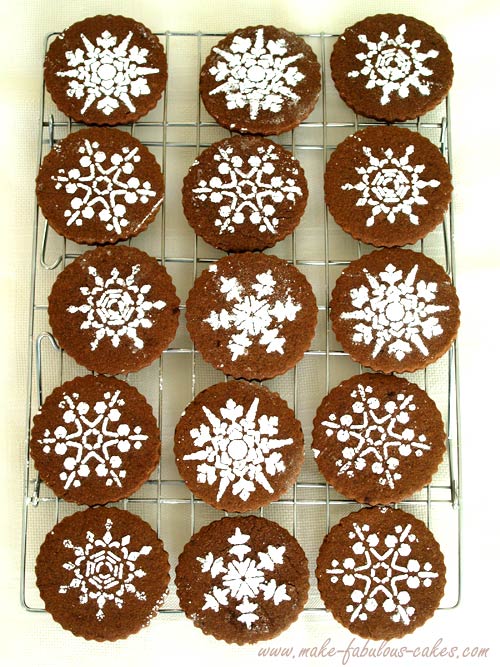
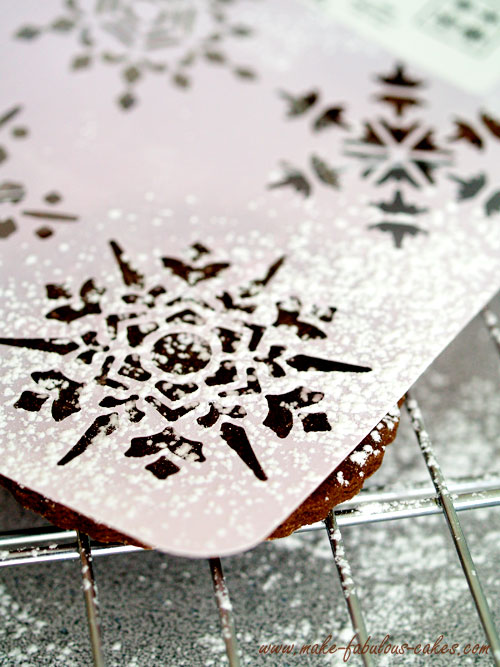
For the snowflakes, I just used a snowflake stencil I got from the home improvement store and placed on top of the cookie. I sifted icing sugar over and voila – instant snowflake. I just love the contrast between the dark chocolate and the white icing sugar.
I like to roll sugar cookie dough in between two sheets of parchment or waxed paper. It is so much easier to roll it and I don’t use extra flour for dusting which can make the dough dry. I roll it out to desired thickness, cut it into shapes that I like then place it in the fridge or freezer for just a few minutes to let it firm up a bit. Then once firm I just pop out the shapes and re-roll the scrapes again.
SNOWFLAKE COOKIES RECIPE
INGREDIENTS
3 cups all-purpose flour
½ teaspoon baking powder
½ teaspoon salt
1 cup salted butter, softened
1 cup granulated sugar
½ cup brown sugar
2 large eggs
1 teaspoon vanilla extract
⅔ cup unsweetened cocoa powder
icing sugar
for dusting
METHOD
Preheat oven 350ºF(176ºC). Prepare a cookie sheet pan by placing a parchment paper cut to size on top.
In a bowl combine flour, baking powder and salt.
In another bowl, cream butter with the sugars. Add the egg one at a time until creamy. Add the vanilla and cocoa until well mixed.
Blend in the flour mixture slowly until just well combined.
Roll the dough in between two sheets of parchment or wax paper to about 1/8” to ¼” (3mm to 6mm). Cut desired shapes with a cookie cutter. Slide it with the bottom parchment still under on a sheet pan and place in the fridge or freezer for a few minutes until firm. Once firm, pop out the cut out shapes. Re-roll scraps.
Place the cookie on the prepared sheet pan and bake for about 8 to 11 minutes depending on the size and thickness of the cookies.
Cool the cookies on a rack and sprinkle icing sugar on top.
Snowflake Cookies Top
- Home Page
- Cake Recipes
- Snowflake Cookies
The images, tutorials and content on make-fabulous-cakes.com are protected by copyright laws. DO NOT distribute or copy the content without written permission. DO NOT edit, crop, or remove watermarks from any image or video. If you intend to use any of the text, templates or images within, it must be linked back to this site with credit given to www.make-fabulous-cakes.com. For questions contact us HERE.
Disclosure: Please note some of the links in this post may be affiliate links, I will earn a commission if you decide to make a purchase. This doesn’t cost you anything additional and I truly appreciate this support, thank you!
