Vintage Minnie Mouse Cake
- Home Page
- Baby Cakes
- Minnie Mouse Cake
THIS POST MAY CONTAIN AFFILIATE LINKS, WHICH MEANS I’LL RECEIVE A COMMISSION IF YOU PURCHASE THROUGH MY LINKS, AT NO EXTRA COST TO YOU. PLEASE READ PRIVACY POLICY AND DISCLOSURE FOR MORE INFORMATION.
Minnie Mouse has a soft spot in my heart. I think she’s my favorite Disney character because of her fabulous fashion sense. What can I say, she had me from her big bows, polka dots, platform shoes, and those ruffled undies... oh hello.
So I was quite excited when I was commissioned by Heartmuch Weddings & Events
to make not one but two Minnie Mouse inspired
cakes for two little sisters celebrating milestones in their lives. One sister is having her baptism and the
older sister is celebrating her 3rd birthday.
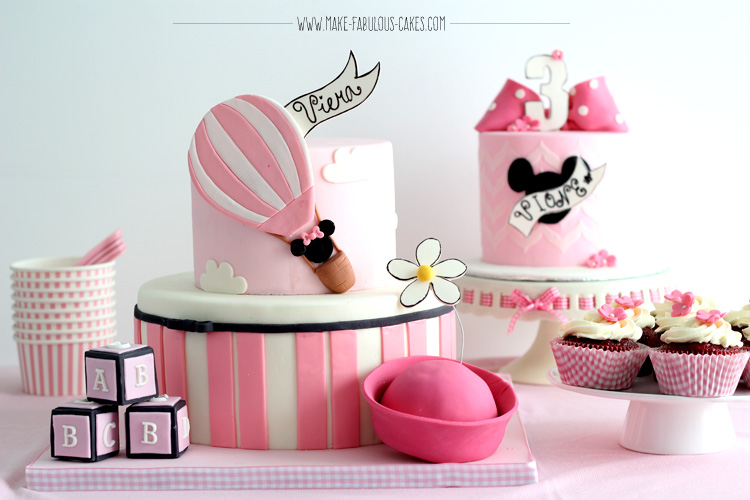
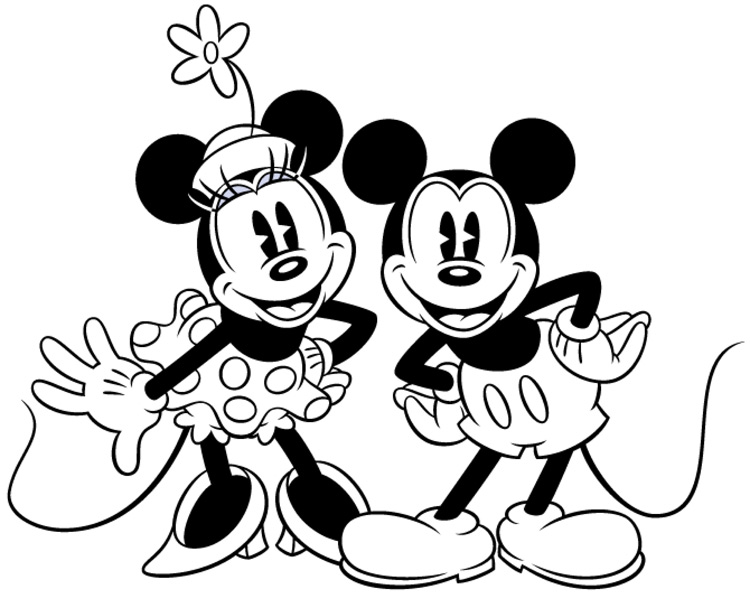
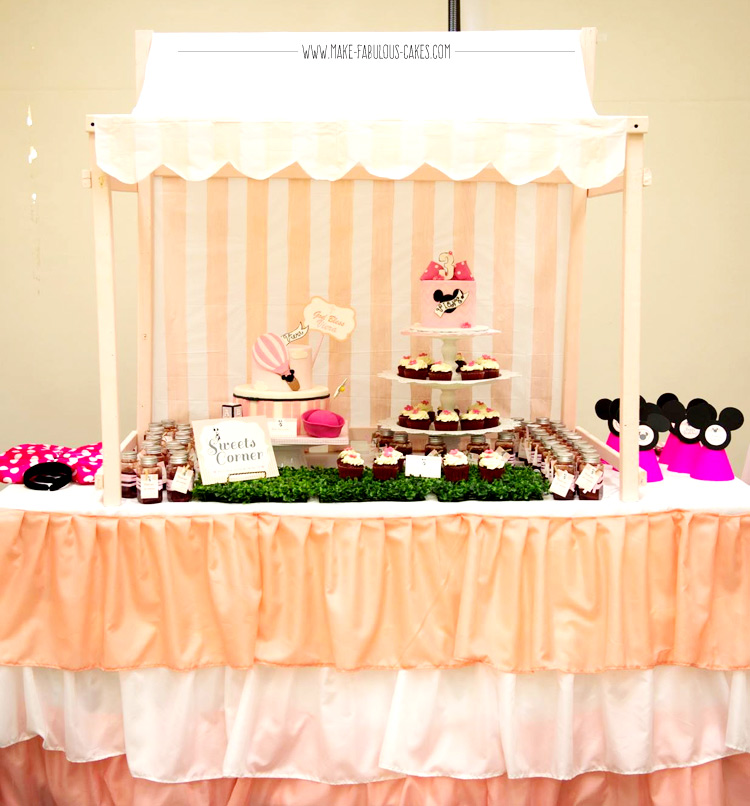
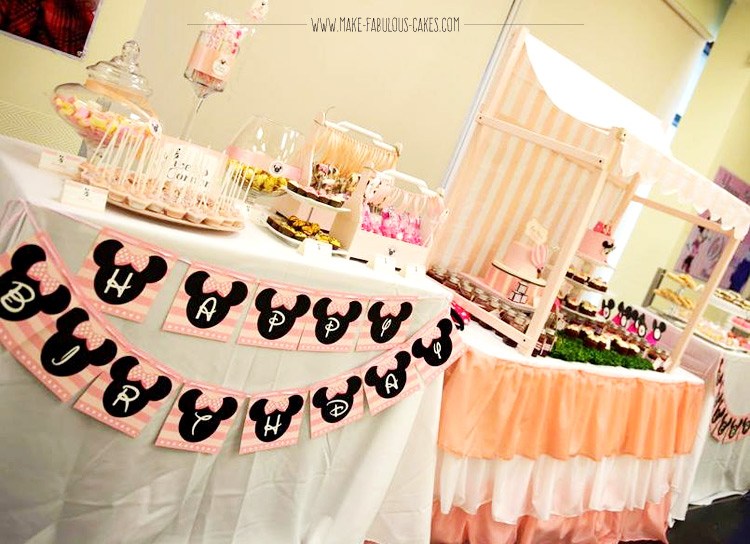
This Minnie Mouse party has a different twist to the theme. I was told that it would be a vintage Minnie Mouse and instead of the usual black, pink and red polka dots, the colors used were softer shades of pink and peaches. Hot air balloons were included as well to add to the vintage feel.
Vintage Minnie Mouse Cake with Hot Air Balloon
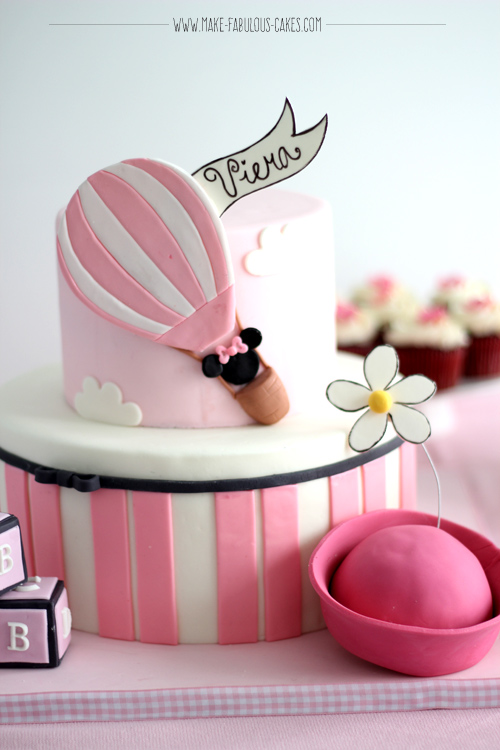
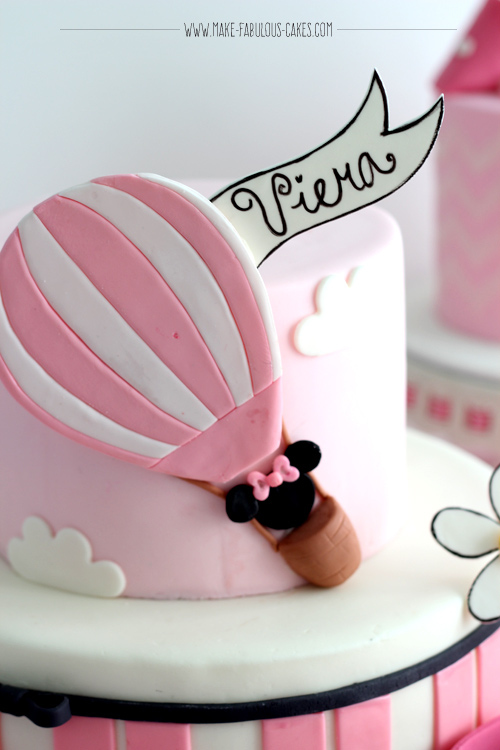
The main celebration of the event was the little sister Viera’s baptism. For her cake I made 2 tiers of red velvet cake. I made the hot air balloon out of gum paste in advance so it would get firm and solid. I printed an image of a hot air balloon and traced it from there. I also made a ribbon banner at the same time as well and I just did it by hand, no templates needed.
I was shown a picture of the canopy that they were going to use for the dessert table. The fabric used had stripes, so I incorporated the stripes on the bottom tier. I used one of my favorite cake decorating tools, a fondant ribbon cutter to cut out the stripes.
For the top tier I used this rounded petal flower cutter to make the clouds, just cut the bottom part and voila, instant clouds. I attached the hot air balloon to the cake with some royal icing.
Before attaching the ribbon banner, I wrote the celebrant’s name with a black edible marker. The bottom part of the banner is actually long enough so that it can be attached to the cake so that it will hold better. So the backside of the banner is attached with royal icing to the cake and the front is attached to the hot air balloon.
For the silhouette of Minnie Mouse I simply used round plunger cutters of 2 different sizes, a big one for the face and a smaller one for the ears. For the bow, I lucked out because I found these heart sprinkles and I just used two of those hearts to make a bow.
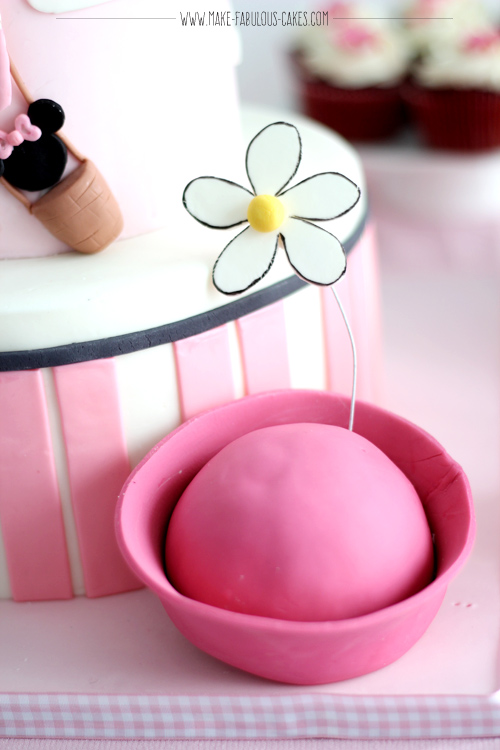
Vintage Minnie Mouse had a hat with a flower. I made the hat out of rice krispies and covered it in fondant. To make the lip of the hat, I cut out a strip of fondant and attached it to the bottom part of the base.
I also made the flower in advance so that it will dry. I just free hand cut the gum paste then attached the wire by sandwiching it with the flower and another small ball of gum paste. I use black edible marker to trace the outline of the flowers.
For the baby blocks, I covered plastic blocks with fondant and used Tappits to cut the letters.
Minnie Mouse Birthday Cake
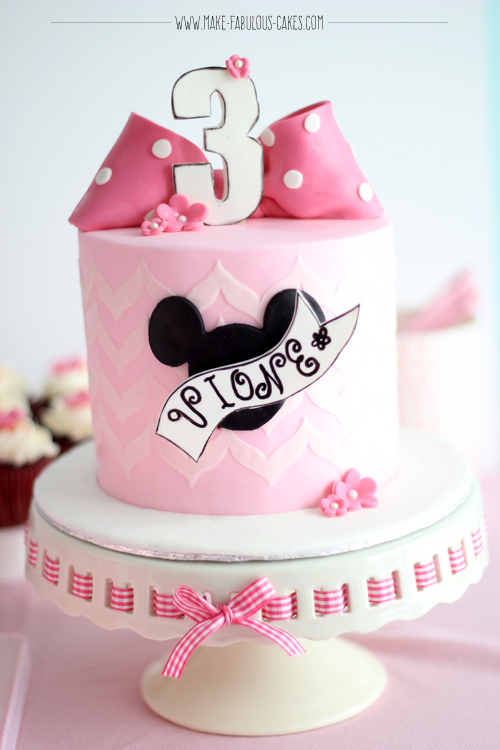
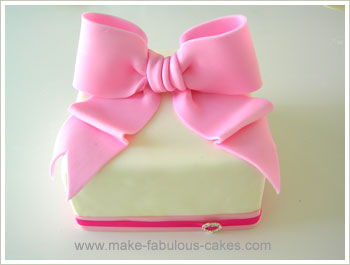
For the bigger sister’s birthday cake, I went for the classic polka dot Minnie Mouse bow. I made a fondant bow and simply added dots.
I used a number 3 template (I just went on Word program and looked for a number 3 that I liked), and cut that out of gum paste as well. I also cut out a ribbon banner similar to the other cake and let those dry as well.
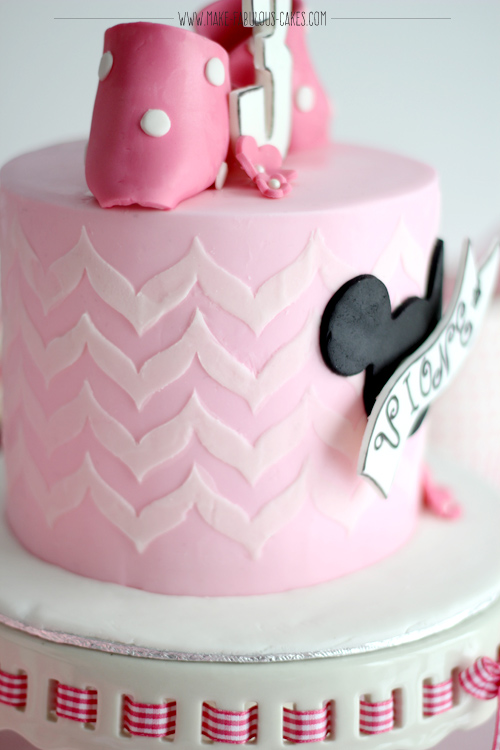
I used a beautiful stencil that I got from The
Stencil Closet. I used the pattern called the Curvy Herringbone and I used royal icing to do
the stencil on the sides of the cake. I just
love how it turned out. I used a Mickey Mouse cookie cutter to do her silhouette but you can use circle cutters as
well.
I finished the cake with some blossoms cut with these flower plungers.
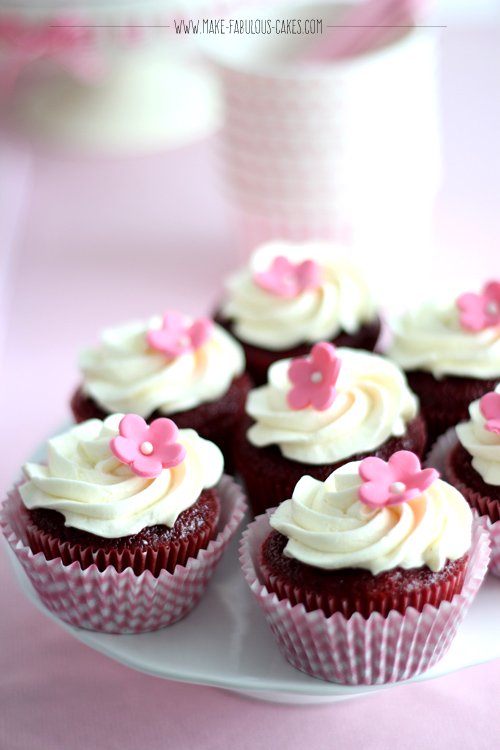
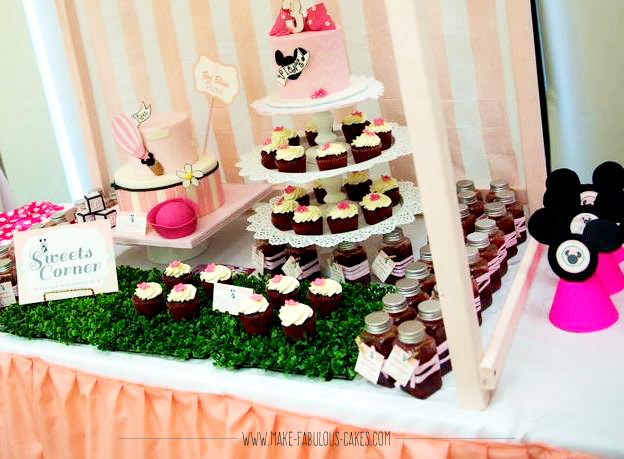
Oh, and I also made cupcakes and decorated those with blossoms too.
Vintage Minnie Mouse Party
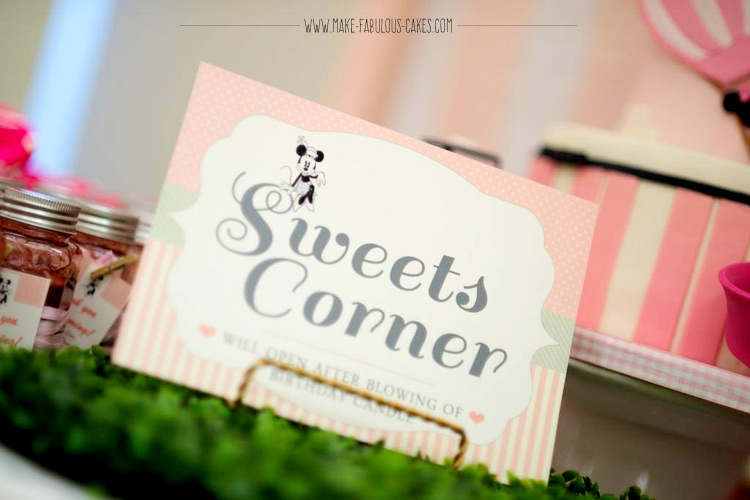
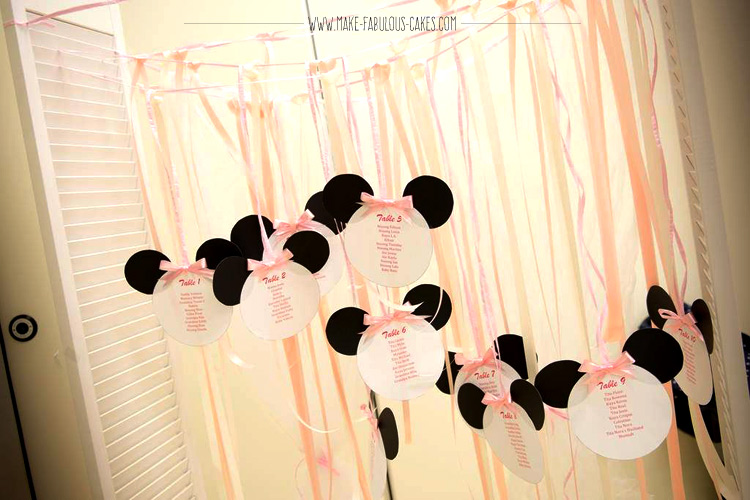
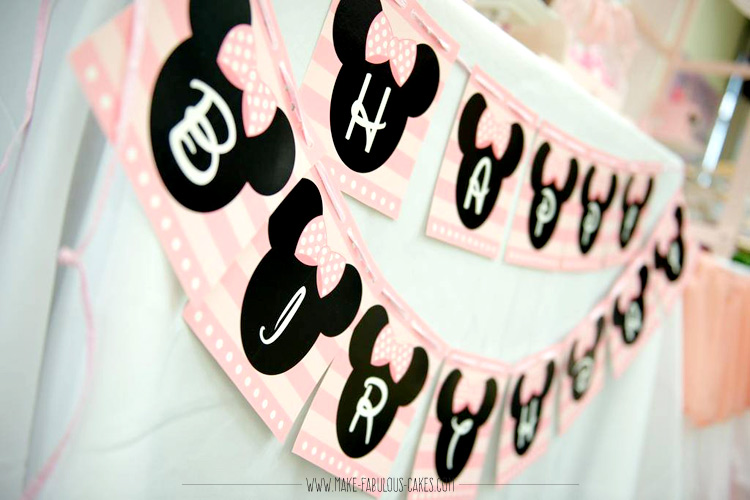
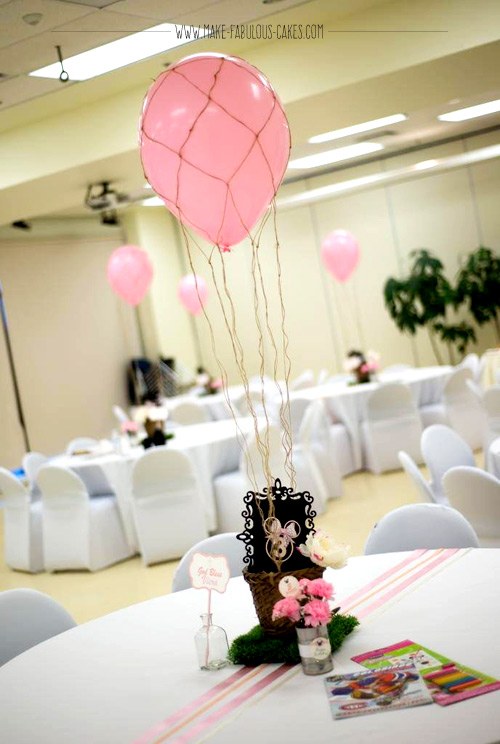
Here are some images of the party styled by Heartmuch Weddings & Events. They did such a great job on creating the dessert table and the decorations of the event. I especially love the hot air balloon centerpiece. Pictures taken by Adi Photography.
If you have any questions on how I made the Minnie Mouse cake just leave a comment below. I would to hear from ya!
Love lots,

You might also like:
Vintage Minnie Mouse Cake Top
- Home Page
- Baby Cakes
- Minnie Mouse Cake
- Home Page
- Kids Birthday Cakes
- Minnie Mouse Cake
The images, tutorials and content on make-fabulous-cakes.com are protected by copyright laws. DO NOT distribute or copy the content without written permission. DO NOT edit, crop, or remove watermarks from any image or video. If you intend to use any of the text, templates or images within, it must be linked back to this site with credit given to www.make-fabulous-cakes.com. For questions contact us HERE.
Disclosure: Please note some of the links in this post may be affiliate links, I will earn a commission if you decide to make a purchase. This doesn’t cost you anything additional and I truly appreciate this support, thank you!
