Marshmallow Fondant Recipe
Plus Video
- Home Page
- Frosting Recipes and Cake Fillings
- Marshmallow Fondant Recipe
THIS POST MAY CONTAIN AFFILIATE LINKS, WHICH MEANS I’LL RECEIVE A COMMISSION IF YOU PURCHASE THROUGH MY LINKS, AT NO EXTRA COST TO YOU. PLEASE READ PRIVACY POLICY AND DISCLOSURE FOR MORE INFORMATION.
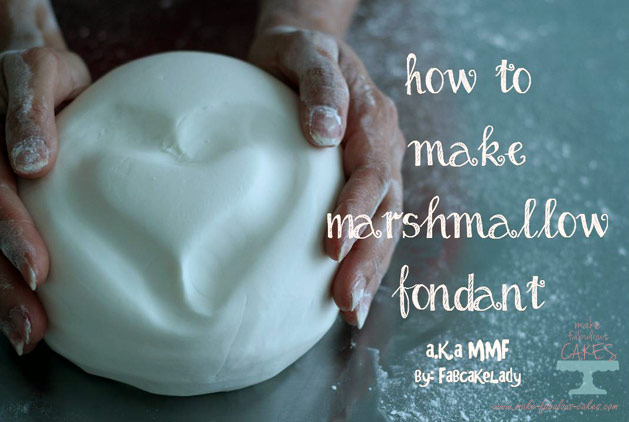
When I wrote the recipe for the first time in 2009, I was pretty new with making marshmallow fondant (a.k.a. MMF), I've been using the classic or regular rolled fondant from scratch before that.
Nowadays, I use ready made fondant say most of the time now, and mostly for reasons of saving time and energy.
BUT... if I have to make fondant, I always go for MMF rather than the regular one. And I do so for a few reasons.
First, there are less ingredients.
What that means is that there would be less measuring, less bowls, less cleaning up, less time making it... you get the idea.
Then, another thing I like about MMF is the elasticity. Because of all the gooey, marshmallowey stuff, it is way more elastic than the regular rolled fondant. And you want something elastic especially when covering a cake - there would be less tendency for tearing and cracking.
I also find that when I roll the MMF out, it does not dry as fast as the regular fondant and even some of the ready-made ones. It has less tendency to have that "elephant skin" effect that fondant will sometimes have especially when left out uncovered.
And another good point for me for MMF is the taste. If you love marshmallows, you will love marshmallow fondant.
You can add flavorings to it too like vanilla or lemon extract to fancy it up a bit. I have even added melted chocolate (I add it when the marshmallows are in the melted stage), and it is really yummy.
I usually am able to use MMF an hour after making it. It is usually warm when just made and too soft, so I wait until it is cool and much firmer to handle.
If I need a lot of one particular color (especially if it is a dark color like red or black), I mix in the gel food color when the marsmallows are melted, right before adding in the powdered sugar. It will save time and a lot of elbow grease from trying to add the color to the fondant.
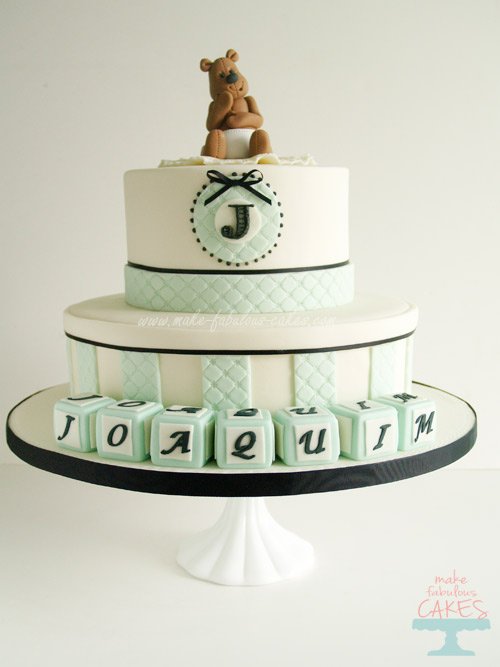
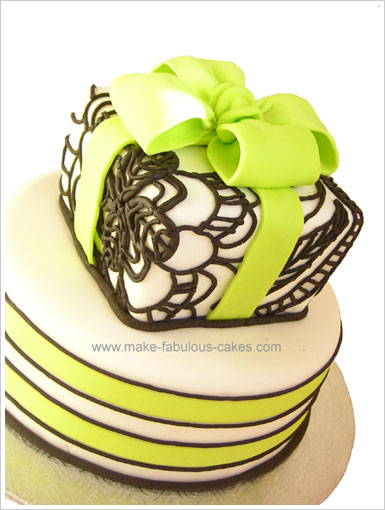
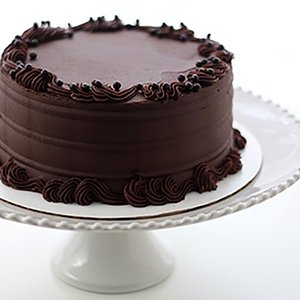
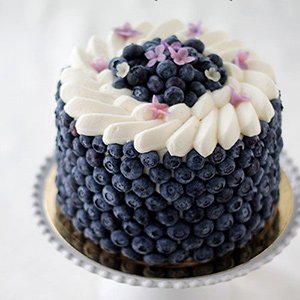
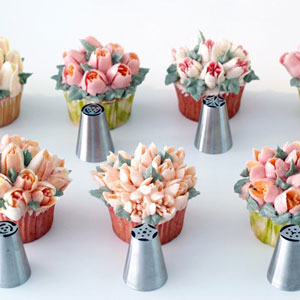
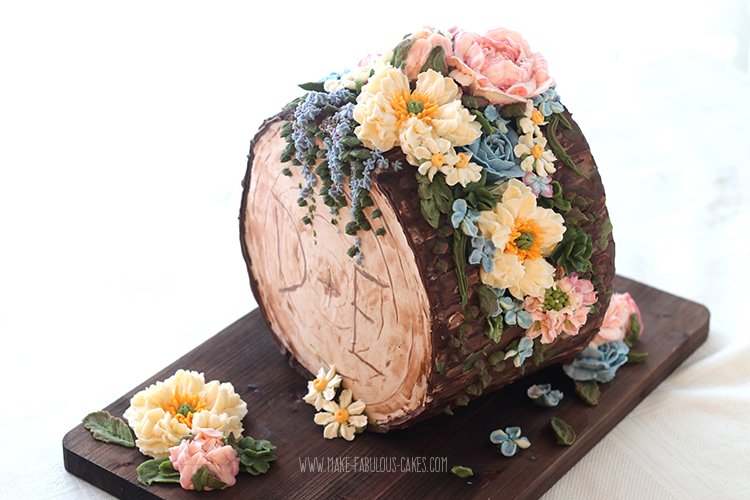
Here are some cakes made with marshmallow fondant.
Now, the cons...
MMF can get firm when left to stand. It can get springy and hard to knead at first. You have to work it a bit to bring back the elasticity. You can do this by warming it up a bit by nuking it in the microwave for a few seconds before trying to knead it.
Adding color to a finished dough can sometimes be a challenge. I find that it takes longer to get a nice, even color all throughout the fondant. This is especially true when making darker colors. What happens is that you can overwork the dough while trying to get that dark color and that could affect the texture and elasticity of the dough.
Make sure that the marshmallows you use are fresh as old, dry marshmallows will give you a dryer fondant, which can mean harder to roll out, more prone to cracking and tearing.
What prompted me to make an updated post, is that I made a video on how to make marshmallow fondant.
I actually took this video awhile back and forgot about it. Then I found it again while looking for some pictures.
I finally decided to edit it and get it out there. It's funny because the light gets darker and darker as the video progresses. I shot this in the late afternoon and it was starting to get dark. So, please forgive the quality at the end. Hope you still learn something from it.
HOW TO MAKE MARSHMALLOW FONDANT
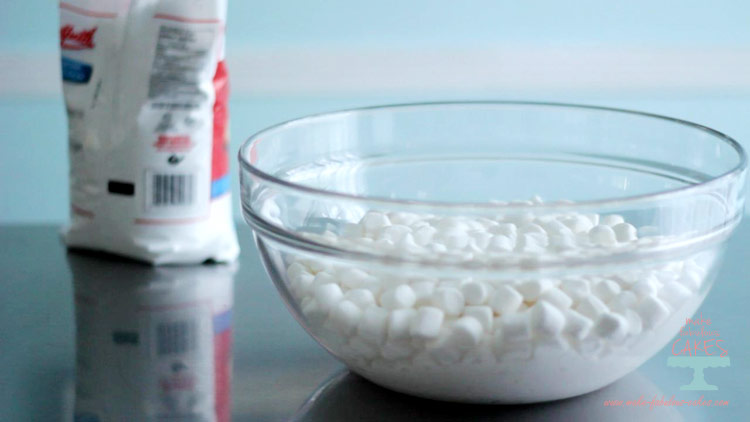
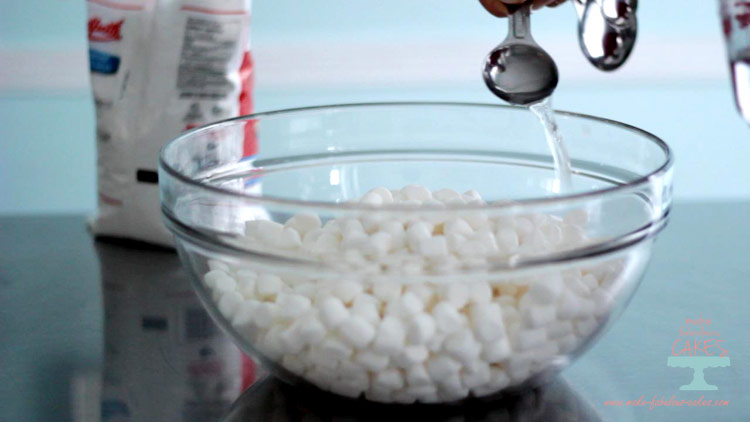
First, place the marshmallows in a big bowl.
Add 2 tbsp water.
Microwave it for a minute. Let it rest in the microwave for a minute, then microwave it again for 1 minute.
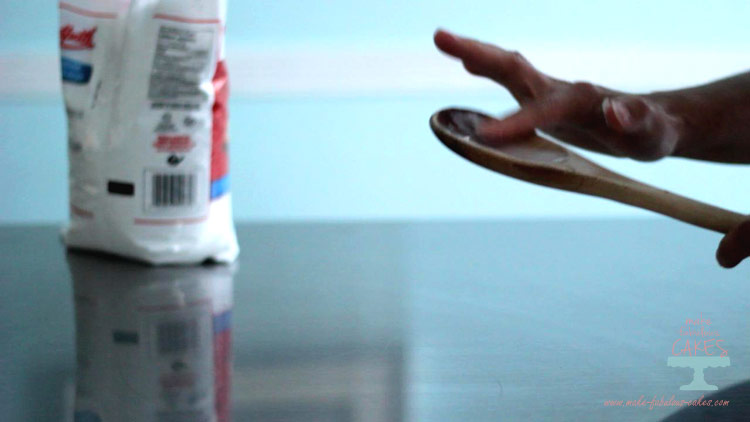
In the meantime grease a wooden spoon with shortening.
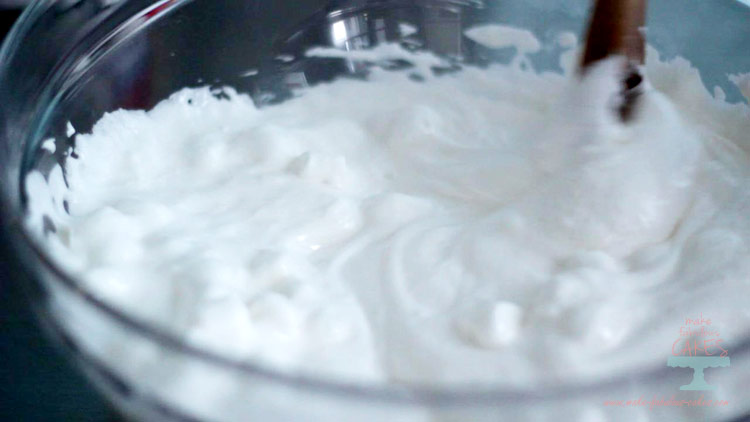
Mix marshmallows until all melted and smooth. Add flavors and color if using.
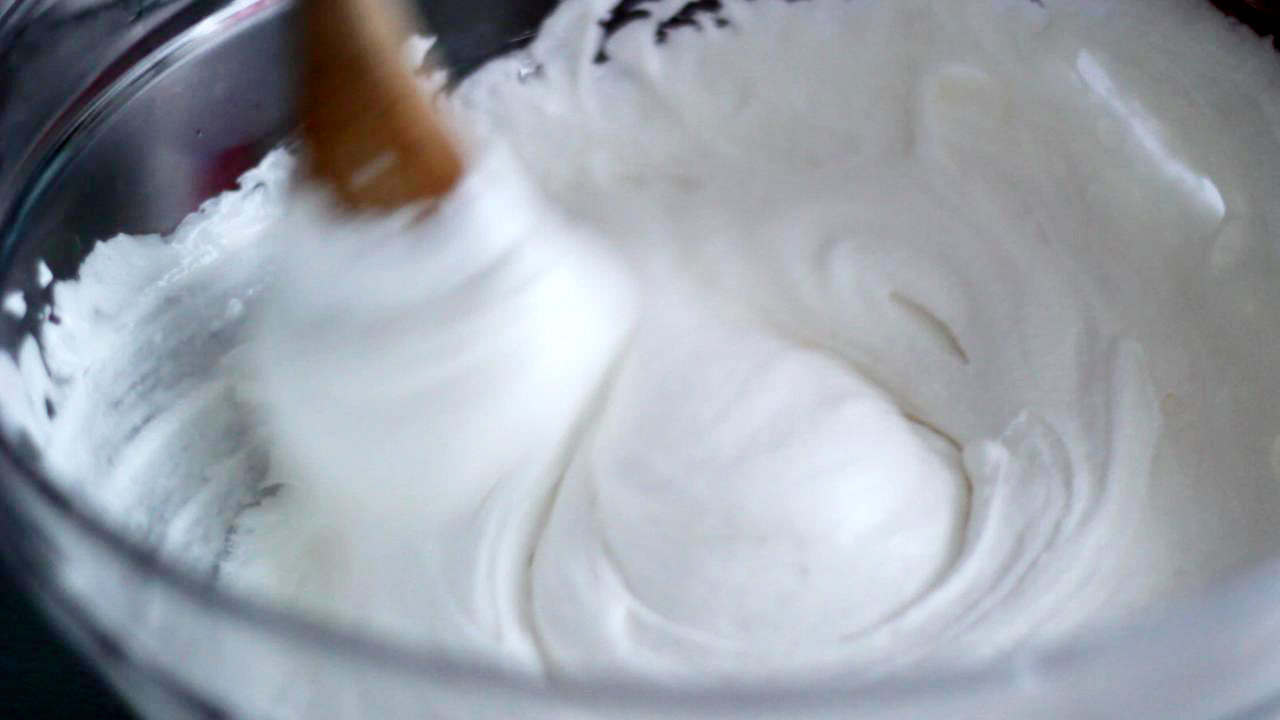
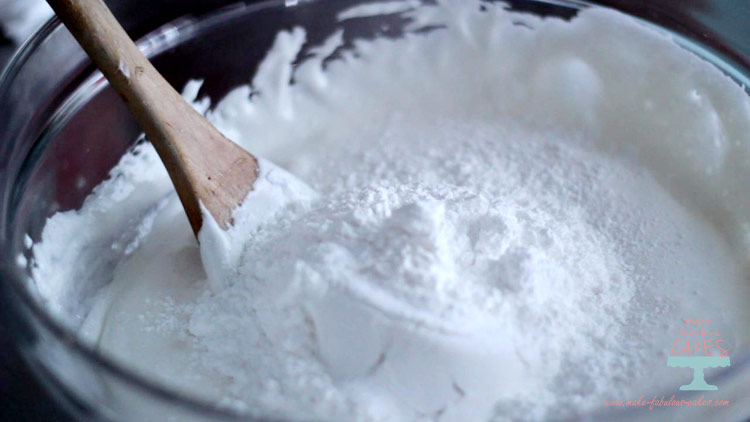
Add 2 cups of powdered icing sugar. Mix.
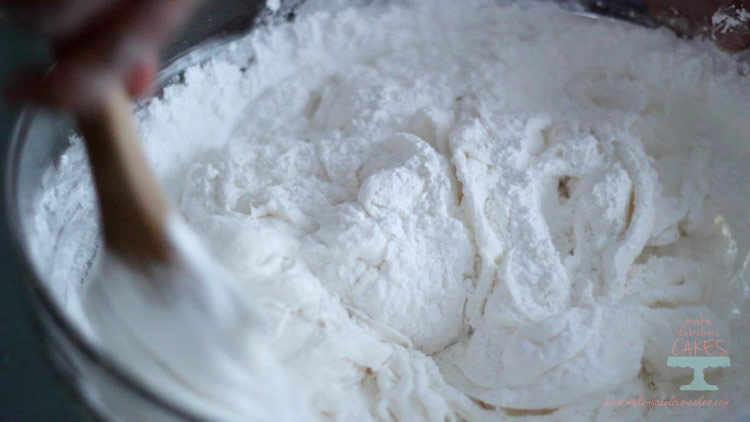
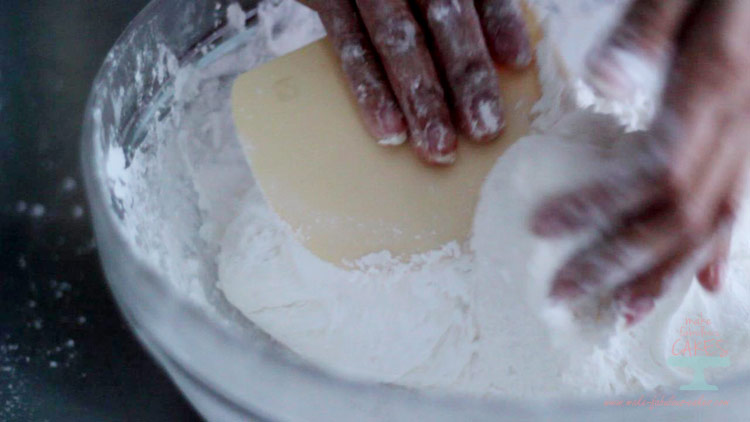
Add another 2 cups and mix again. It will get a bit harder to mix with a spoon at this stage. Use a scraper to get to the bits at the bottom of the bowl. Use hands to knead the dough.
At this stage, dough would still be sticky. Add 1 to 2 cups more of the powdered sugar, the amount will vary depending on how sticky the dough is.
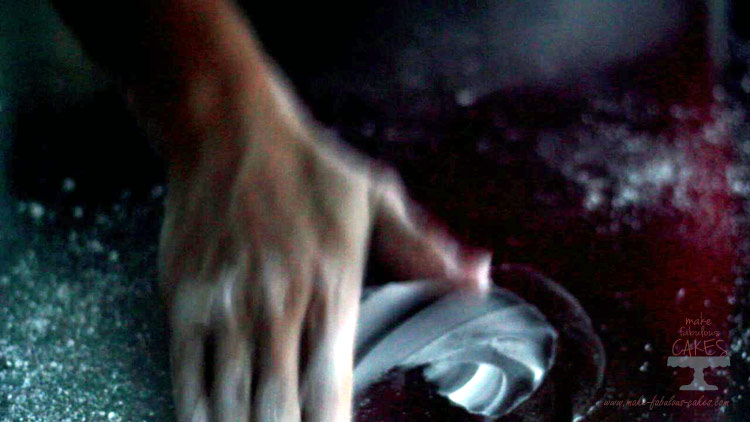
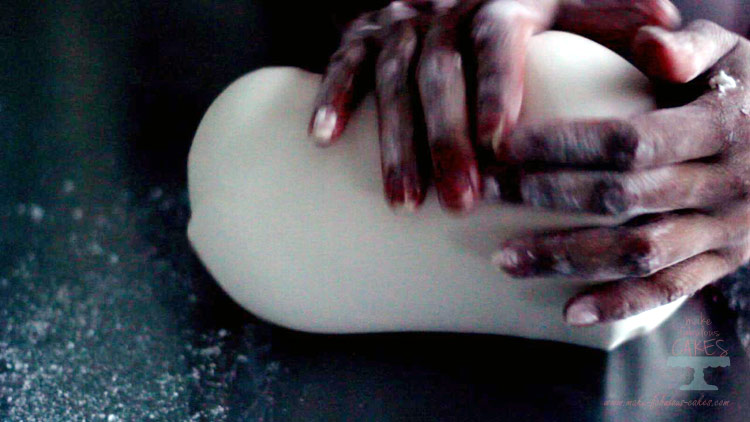
I do most of my mixing and kneading in the bowl, just because I want to make as less mess as possible. But I still give it a last kneading on the table greased with some shortening. This will make the fondant come all together, nice and smooth.
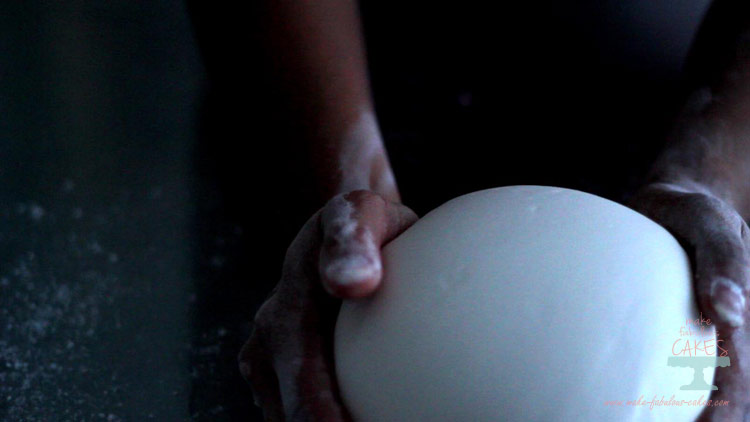
Make it into a ball and cover with plastic wrap and place it inside a tight seal container.
MARSHMALLOW FONDANT RECIPE by Make Fabulous Cakes
INGREDIENTS
1 (1 lb or 454 gm) bag of mini marshmallows
2 tbsp. water
5-6 cups of powdered icing sugar
1 tsp. of lemon,orange or almond extract (optional)
METHOD
First, place the marshmallows in a big bowl.
Add the water.
Microwave it for a minute. Let it rest in the microwave for a minute, then microwave it again for 1 minute.
In the meantime grease a wooden spoon with shortening.
Mix marshmallows until all melted and smooth. Add flavors and color if using.
Add 2 cups of powdered icing sugar. Mix.
Add another 2 cups and mix again. It will get a bit harder to mix with a spoon at this stage. Use a scraper to get to the bits at the bottom of the bowl. Use hands to knead the dough.
At this stage, dough would still be sticky. Add 1 to 2 cups more of the powdered sugar, the amount will vary depending on how sticky the dough is.
I do most of my mixing and kneading in the bowl, just because I want to make as less mess as possible. But I still give it a last kneading on the table greased with some shortening. This will make the fondant come all together, nice and smooth.
Make it into a ball and cover with plastic wrap and place it inside a tight seal container.
Yield: Approx. 1.4 kg or 3 lbs. - enough to cover up to 12" round cake 4" high
Hope you enjoy this tutorial and if you have any questions or comments just write it below!
Warm hugs,

Go to Marshmallow Fondant Recipe Top
- Home Page
- Frosting Recipes and Cake Fillings
- Marshmallow Fondant Recipe
The images, tutorials and content on make-fabulous-cakes.com are protected by copyright laws. DO NOT distribute or copy the content without written permission. DO NOT edit, crop, or remove watermarks from any image or video. If you intend to use any of the text, templates or images within, it must be linked back to this site with credit given to www.make-fabulous-cakes.com. For questions contact us HERE.
Disclosure: Please note some of the links in this post may be affiliate links, I will earn a commission if you decide to make a purchase. This doesn’t cost you anything additional and I truly appreciate this support, thank you!
