Icing a Cake Smoothly
- Home Page
- Cake Decorating Techniques & Tips
- Icing a Cake
THIS POST MAY CONTAIN AFFILIATE LINKS, WHICH MEANS I’LL RECEIVE A COMMISSION IF YOU PURCHASE THROUGH MY LINKS, AT NO EXTRA COST TO YOU. PLEASE READ PRIVACY POLICY AND DISCLOSURE FOR MORE INFORMATION.
Icing a cake to a smooth finish is quite challenging for a beginner to learn. It is, however, worth the time to learn how to do it. It takes a lot of p's - patience, persistence and practice, practice, practice!
A round cake is the easiest shape to cover with icing, so it is best to start practicing icing a cake with this shape. Other shapes such as square or hexagon can be a bit harder to do.
The equipment needed for icing the cake are a lazy susan, a metal spatula, an icing bag and the secret tool to a smooth cake - a plastic spackle tool. Yes, this unassuming little tool is what will make your life easier in smoothing a cake. Make sure you have one dedicated just for your cake making. I got mine from the local home improvement store for less than ten dollars.
You will also need a cake, buttercream icing and a cake board.
A really fresh cake can sometimes be quite a challenge to frost because it is too fragile and crumbly. I like freezing cakes for a couple of reasons: it makes the cake moister and it settles the cake so it is less crumbly and less likely to bulge. Leaving it in the freezer even for an hour after baking will help firm it up.
When freezing cakes, make sure it is tightly wrapped with a plastic cling wrap. I usually freeze it overnight and use the next day. I don't like keeping in the freezer for a long time as it will have freezer burn and will change the taste. Leave the plastic wrap on when thawing the cake; it will help lock in the moisture.
For buttercream, I use this recipe. Be sure to have plenty of icing; it is better to have extra than running out and making more in the middle of covering the cake. I don't know about the other shortening based icing if the secret tool will work well with it. I will experiment with it on a later date.
The cake board to use will depend if the cake will be stacked or not. If the cake is just one layer, use a cake board that is slightly bigger than the cake. If the cake is for stacking, use a cake board that is the same size as the cake.
TORTING A CAKE
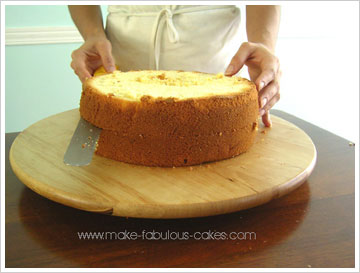
Place the cake on the lazy susan. Trim to level the top by using a serrated knife. To torte the cake, take the knife to the side of the cake. Slowly turn the cake while moving the knife in a back and forth motion. You can cut the cake more layers if you wish.
Place the top half of the cake onto the cake board with a dab of icing. This will help "glue" it into place.
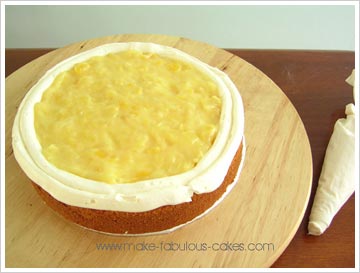
Make a dam of buttercream around the cake using the icing bag with no tip. Fill with desired filling. This will help prevent the filling from leaking and also prevent the cake from bulging.
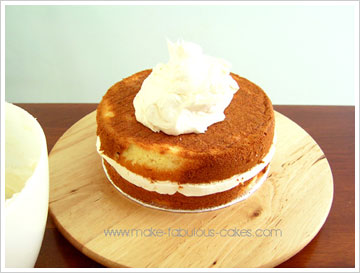
Place the bottom half on top of the filling. If the cake is quite large, use a cake board underneath the cake and slide the cake off the board.
ICING A CAKE
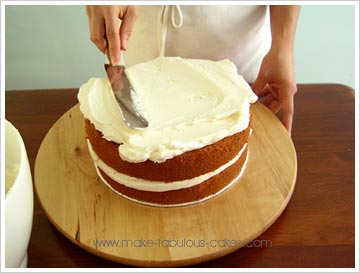
Put a huge amount of icing on top of the cake. Don't be hold back on this, we will move this icing around and remove most of it.
Now, spread the icing to cover the top of the cake. Try not to lift the spatula too much so you won't have any crumbs. If you do get crumbs just wipe it off on another bowl and use those for the filling. You can spread some of the icing towards the side of the cake and you can take some of the extra icing off, too.
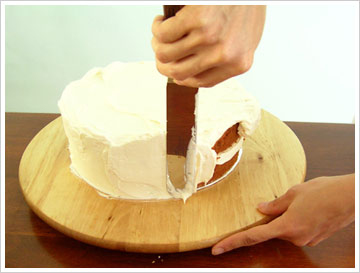
Take some icing with your spatula hold it against the side on a 90 degree angle and spread it, covering the cake all around. Use your other hand to turn the lazy susan while doing this. Make sure the edges are a hanging little bit higher on the top of the cake.
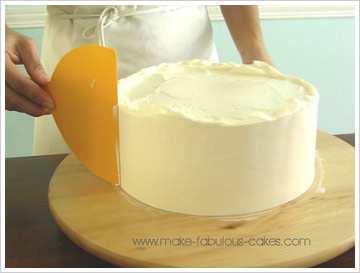
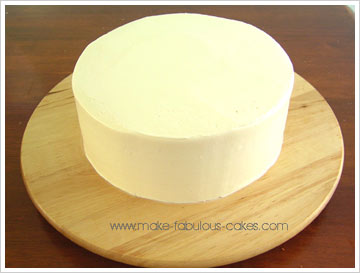
When the cake is covered all around, take the spackle tool and hold it against the sides again on a 90 degree angle. Turn the cake round and round while leaving the spackle tool in the same place. It may take a few round trips before you smooth it out.
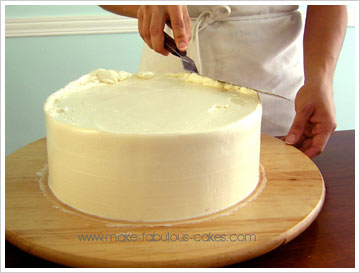
Using the metal spatula push those overhanging edges towards the center of the cake. Repeat all around, wiping the excess buttercream to the bowl. You should have nice, clean edges.
Clean the spatula and run it across the top to smooth it. What also helps to smooth the cake is using a spatula that was dipped in hot water. The heat helps melt the buttercream a bit.
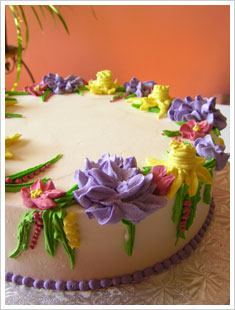
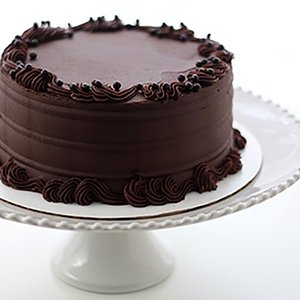
And voila, a nice, smooth cake all ready for decorating!
You might also like:
Icing a Cake Top
- Home Page
- Cake Decorating Techniques & Tips
- Icing a Cake
The images, tutorials and content on make-fabulous-cakes.com are protected by copyright laws. DO NOT distribute or copy the content without written permission. DO NOT edit, crop, or remove watermarks from any image or video. If you intend to use any of the text, templates or images within, it must be linked back to this site with credit given to www.make-fabulous-cakes.com. For questions contact us HERE.
Disclosure: Please note some of the links in this post may be affiliate links, I will earn a commission if you decide to make a purchase. This doesn’t cost you anything additional and I truly appreciate this support, thank you!
