A Teapot Cake
- Home Page
- Adult Birthday Cake Ideas
- Teapot Cake
THIS POST MAY CONTAIN AFFILIATE LINKS, WHICH MEANS I’LL RECEIVE A COMMISSION IF YOU PURCHASE THROUGH MY LINKS, AT NO EXTRA COST TO YOU. PLEASE READ PRIVACY POLICY AND DISCLOSURE FOR MORE INFORMATION.
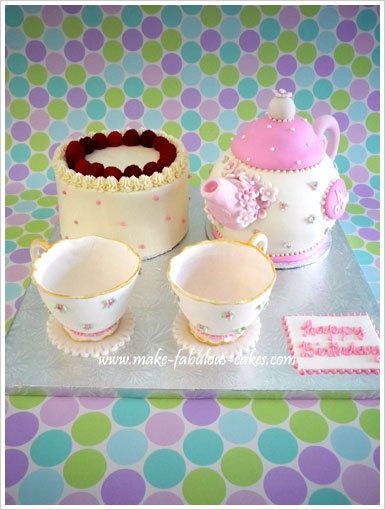
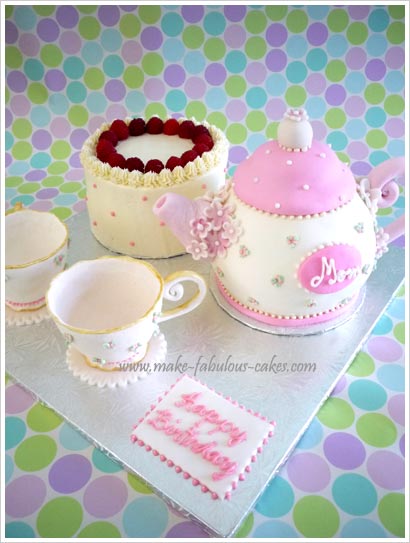
I made this teapot cake for my co-worker's mother's birthday. She wanted to surprise her mother with a tea party for her birthday and I was happy, no - I was excited to supply her the cake.
As I researched on the Internet, I was completely overwhelmed with so many kinds of teapots. Teapots come in all sorts of shapes, colors and styles varying from the ultra feminine Victorian teapots to the more streamlined modern teapots.
Since it will be my first time making a teapot cake, I want to make it pretty simple in shape. I saw a round whimsical teapot on the net (sorry can't remember the site) and thought to myself, hey since I already have a ball pan why not make a ball-shaped teapot. My co-worker wanted to add teacups and I debated on whether to make it out of cake or out of gum paste. In the end I opted to make it in gum paste since I didn't feel like carving little cakes. I added a small 5" round cake to increase the serving size and complete the setting.
This teapot cake can also be made for a little girl's birthday, bridal shower, mother's day or for any teapot themed party. Add a pair of gum paste teacups , and you are good to go!
INSTRUCTIONS FOR THE TEAPOT CAKE
Make ahead the handle and the spout using gum paste. Insert a couple of toothpicks on the part that gets attached to the pot. Let dry for at least 2 days or more. Make extra for breakage.
Bake the cake in a ball cake pan. When the cake is done, take it out of the pan and let cool flat side down. When cooled, cut the rounded tops, with one cut more bigger than the other. Keep the trimmings. Cutting the end will keep the cake from rolling over.
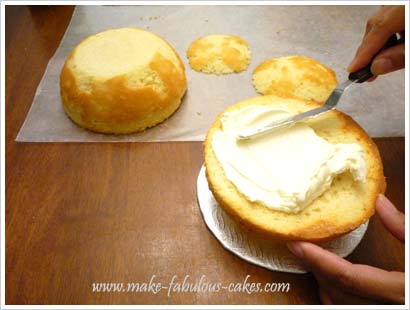
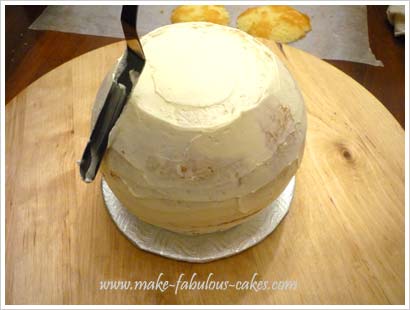
Place the cake with a bigger cut on the board, fill and place the other half on top. Frost with buttercream and chill in the refrigerator to harden up the buttercream. Cover the chilled cake with white fondant. Make a long string of pink fondant and place on the bottom border.
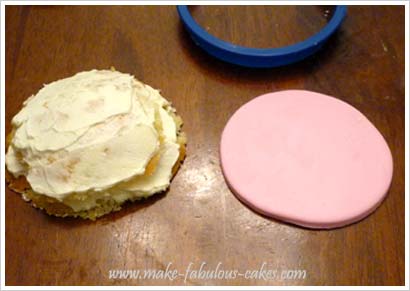
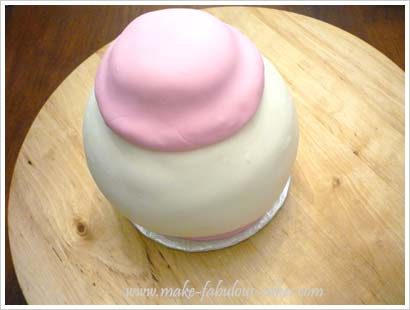
Now, let's make the teapot lid that goes on top of the teapot cake. Cut a 4" round (I used a cookie cutter) from pink fondant. Take the cake trimmings and place one on top of the other sticking them together with buttercream. Place this on top of the disc.
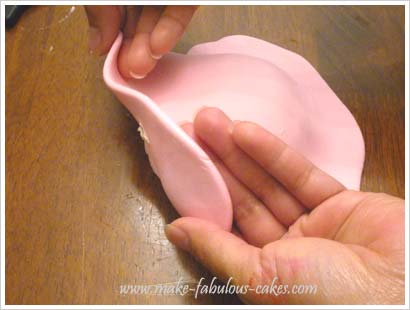
Roll out some pink fondant and cover the trimmings. Use water to stick the top fondant to the bottom fondant. Use hands to help shape it.
Place the teapot lid on top of the main body of the teapot.
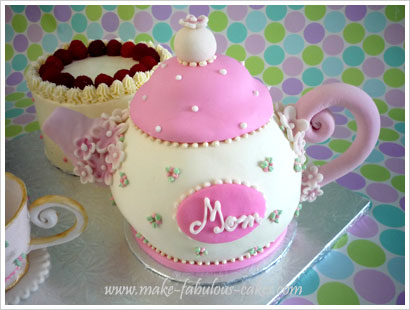
Decorate the teapot cover with white buttercream dots. Make a small ball from white fondant and attach on the very top with a toothpick. Attach the handle and spout to the teapot. Decorate the part on where they are joined with flowers (this also hides any imperfections).
Cut an oval plaque from pink fondant and attach to the side with water. Write "Mom" (or any other name) with white buttercream.
And tada! A teapot cake fit for any tea party.
You might also like:
Teapot Cake Top
- Home Page
- Adult Birthday Cake Ideas
- Teapot Cake
The images, tutorials and content on make-fabulous-cakes.com are protected by copyright laws. DO NOT distribute or copy the content without written permission. DO NOT edit, crop, or remove watermarks from any image or video. If you intend to use any of the text, templates or images within, it must be linked back to this site with credit given to www.make-fabulous-cakes.com. For questions contact us HERE.
Disclosure: Please note some of the links in this post may be affiliate links, I will earn a commission if you decide to make a purchase. This doesn’t cost you anything additional and I truly appreciate this support, thank you!
