Glam
Baptism Cake
with Wafer Paper Flowers
- Home Page
- Celebration
- Baptism Cake
THIS POST MAY CONTAIN AFFILIATE LINKS, WHICH MEANS I’LL RECEIVE A COMMISSION IF YOU PURCHASE THROUGH MY LINKS, AT NO EXTRA COST TO YOU. PLEASE READ PRIVACY POLICY AND DISCLOSURE FOR MORE INFORMATION.
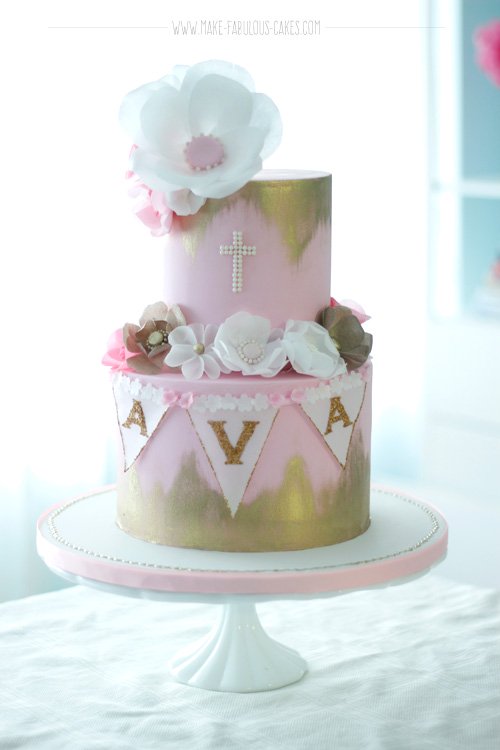
I had the most pleasure of making this glamorous baptism cake for a sweet baby girl.
I really love it when the client gives me carte blanche as to the design of the cake. And I love the fact that this can be an all the way girly girl cake. It’s just my favorite cake to do.
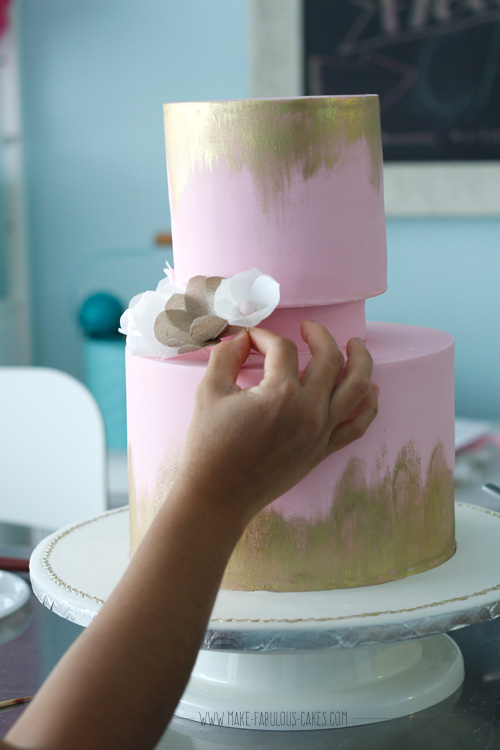
I never made flowers from wafer paper before. It’s the rage right now. I know I’m pretty late in this game. That’s because I’m really a gum paste and buttercream flower kinda girl; these are my fave mediums to use.
However, I have to leave my comfort zone a bit. The event stylist showed me a concept board for the party and when I saw the picture of a wall of paper flowers, I know that I need to use wafer paper to get the same feel and look.
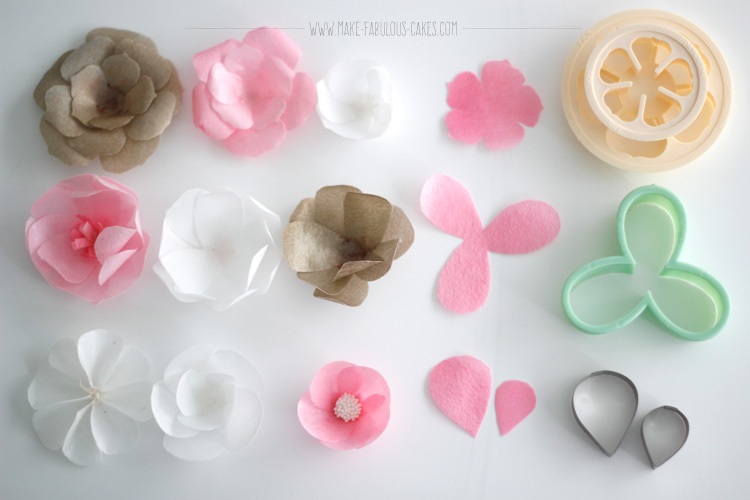
Thank goodness for good ole Google and I found this page of videos for making wafer paper flowers. Stevi Auble is an expert on wafer paper that I follow and check out her book for more info. I’ll let it to the experts to explain how to do it but pictured here below are the cutters I used and the type of flowers it made.
glam baptism cake : wafer paper flowers
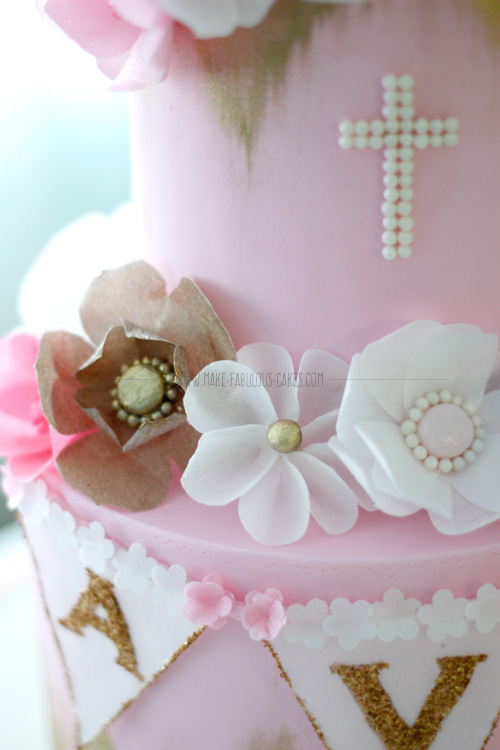
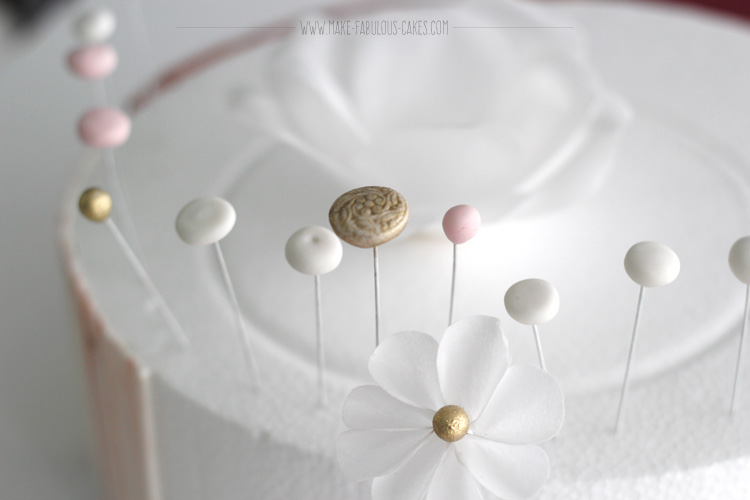
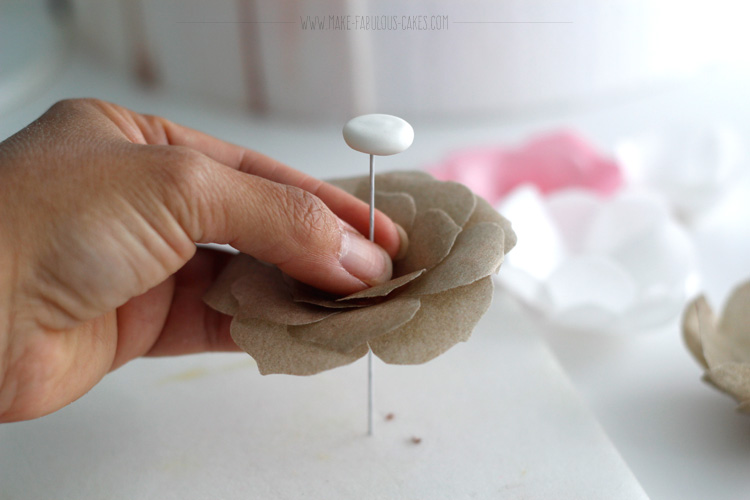
I made flower centers from a bit of fondant attached on wire and inserted this thru the flower.
I colored the wafer paper by airsbrushing both sides very lightly and in layers. For the mocha color, I used brown airbrush color then also airbrushed a bit of Americolor gold sheen on top. Make sure wafer papers are all dry before using them.
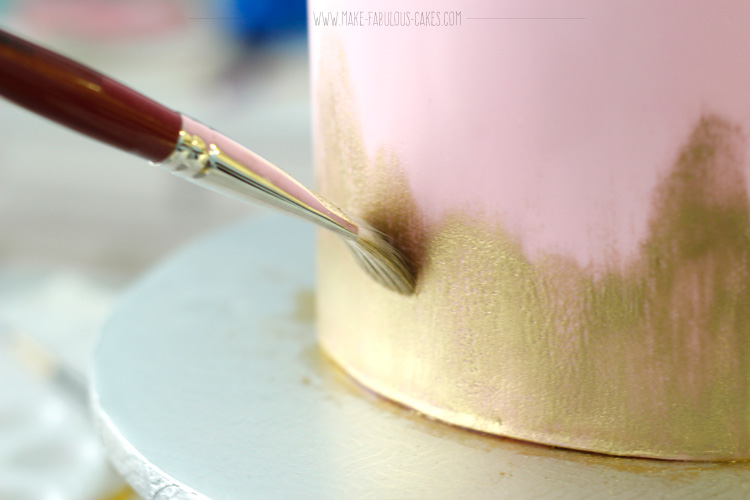
I used some gold dust with a bit of vodka and brushed it on the cake. At first the gold was beading and would not paint properly to the cake so I let it dry first and went back at it again with the gold and a dry brush.
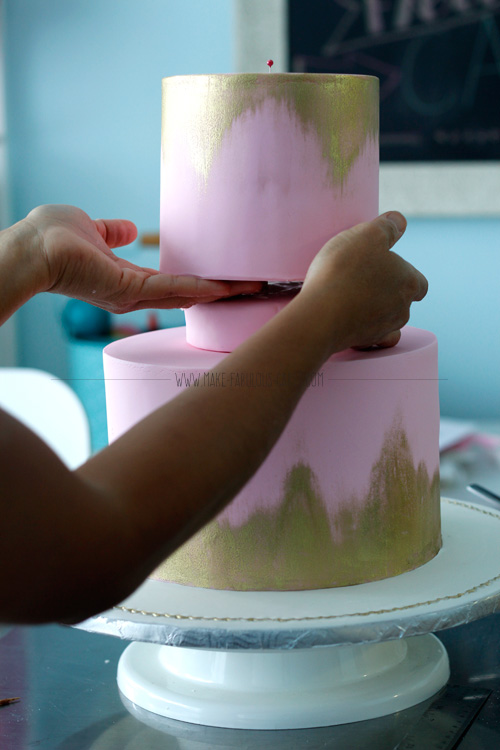
As for the cake itself, I wanted to add a spacer in between the cakes to give it some more height and also so that the flowers can be tucked in a little bit. I cut out circle foam core boards an inch smaller than the cake on top, glued it together and covered it with fondant the same color as the cake.
To make sure that the top cake would not topple over, I inserted a center dowel thru all the cakes.
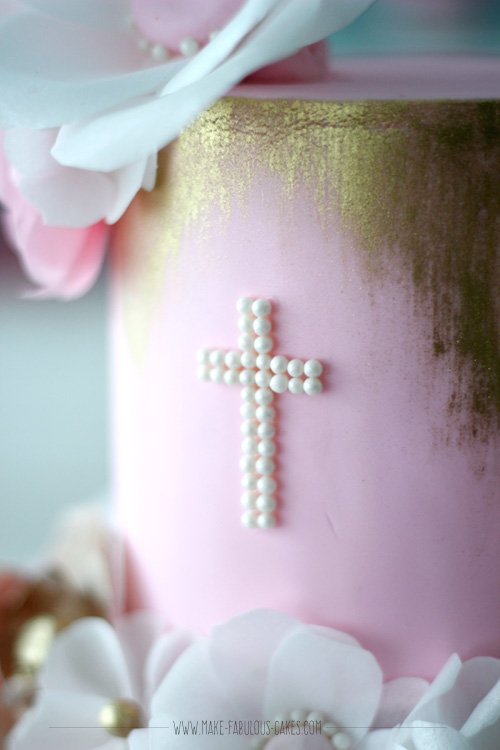
For the cross, I brushed on some piping gel and attached edible sugar pearls. Honestly, this part kinda tested my patience. I didn’t realize that on closer look, the beads do differ in sizes, really just a hair bigger or smaller, but it made a world of a difference. Ok ok maybe I’m being overdramatic here, but it was challenging lining up all those beads.
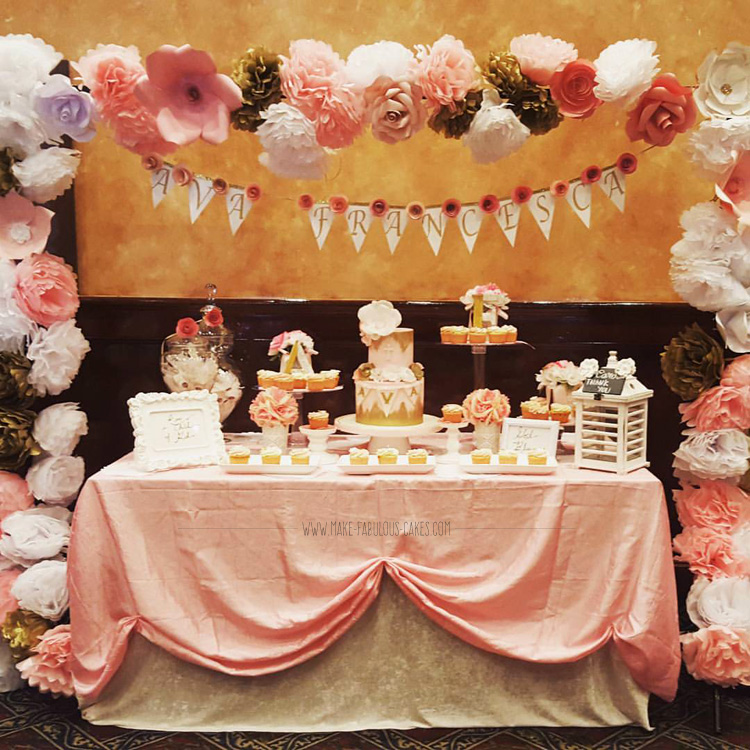
Here is the beautiful set up with the baptism cake by Heartmuch Event Styling. I love how the cake matched the decor perfectly!
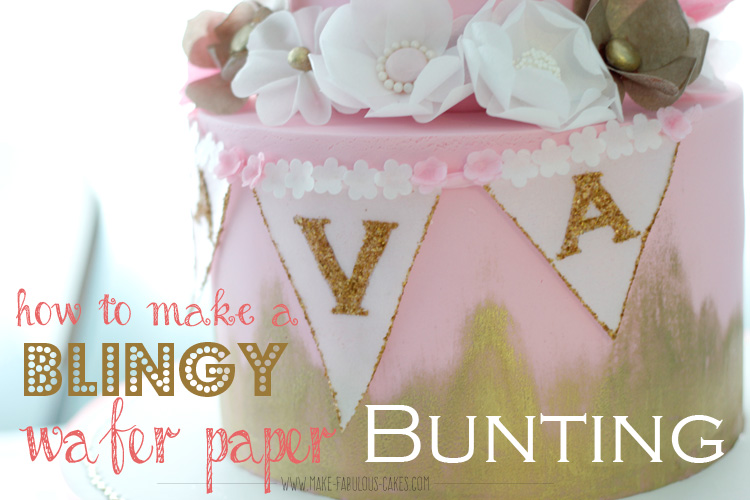
I’ll show how I made the blingy buntings in the second part of this post. So stay tuned!
*Update: You can find the tutorial on how to make the blingy wafer paper bunting here.
Happy caking,

- Home Page
- Celebration
- Baptism Cake
The images, tutorials and content on make-fabulous-cakes.com are protected by copyright laws. DO NOT distribute or copy the content without written permission. DO NOT edit, crop, or remove watermarks from any image or video. If you intend to use any of the text, templates or images within, it must be linked back to this site with credit given to www.make-fabulous-cakes.com. For questions contact us HERE.
Disclosure: Please note some of the links in this post may be affiliate links, I will earn a commission if you decide to make a purchase. This doesn’t cost you anything additional and I truly appreciate this support, thank you!
